Configure account requests for external IdPs
Enable and configure account requests so users authenticating with external identity providers can request accounts from the Console App sign‑in screen.
GIP must be upgraded to version 6.00 or later to activate the
account request feature. For step-by-step instructions, see Migrate the GIP database. To view the GIP version, open the Console App and go to .
-
Verify that the Create Account link appears on the Console App sign-in
screen beneath each external identity provider's sign-in button. If the option is missing, confirm
the identity provider and GIP configuration and that account-requesting is permitted by your
authorization settings.
Figure: GIP sign-in screen with create account option for external IdP 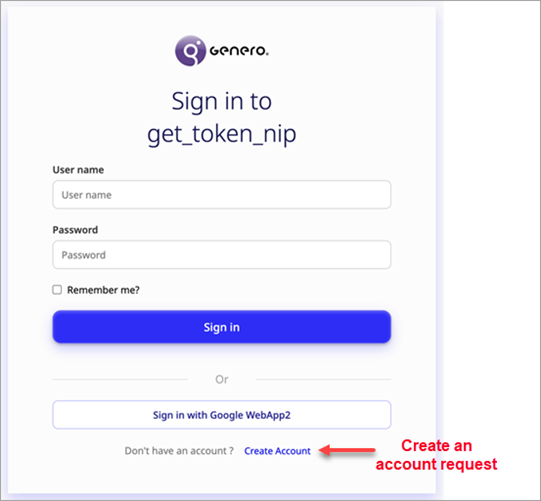
Once enabled, users authenticated by external identity providers can request to create accounts directly from the GIP sign-in screen. For details, go to Request an account via external IdP (SSO). When users click the Create Account link beneath an identity provider button, they authenticate with that provider and submit their account request. Access isn’t immediate. A GIP administrator must then review the external identity provider information, approve the request, and configure user roles. To learn more about this process, go to Manage user account requests.