Manage user account requests
You can manage user account requests in the Console App using the dedicated menu for user requests.
When a user submits an account request—for either GIP or an external Identity Provider (IdP)—the request is stored in the GIP database and appears in the Console App when you log in as an administrator. To manage these requests, use the menu.
Activate the user account request feature
The user account request feature is not enabled by default. To activate it, set the
OIDC.account.create.allow parameter to true in the fglprofile configuration file for GIP.
Once activated, users see the Create Account option on the login page, allowing them to submit account requests. For step-by-step instructions, see Configuring GIP account requests.
Required permissions
To manage user account requests, you must be an administrator and have the appropriate scopes assigned. The User request menu only appears if account request functionality is enabled.
View and manage account requests
In the User request lists screen, requests appear in two panes:
- Top pane: pending requests for GIP-managed accounts.
- Bottom pane: pending requests from external IdPs.
Each request shows login, email, and request date.
Actions:
- Validate (✓): create the user.
- Reject (X): decline the request.
When validating a request, the Console App displays a dialog to confirm user creation. The dialog shows the login and provides an option to create a minimal user profile. The profile includes First name, Last name, and Email fields.
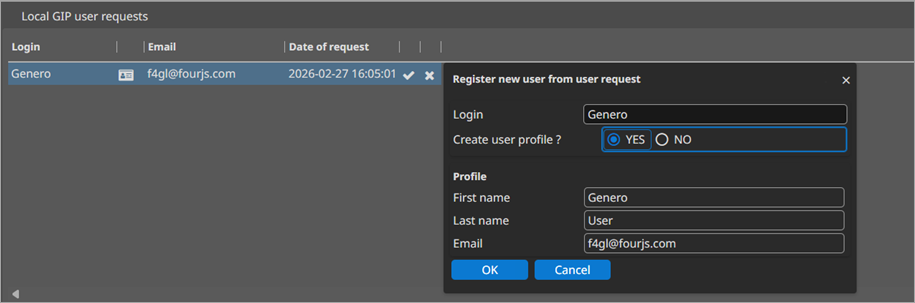
If you select YES for Create user profile?, the Console App creates a basic profile using the values provided in the request. You can update additional fields later in the Manage users topic.
For delegated (external IdP) users, the federated identity remains linked to the IdP. You can edit profile fields and assign roles, but passwords remain under IdP control.
External IdP responses
The GIP retrieves and stores the full JSON payload from the IdP’s userinfo
endpoint. You can view the stored userinfo via the profile action for the request.
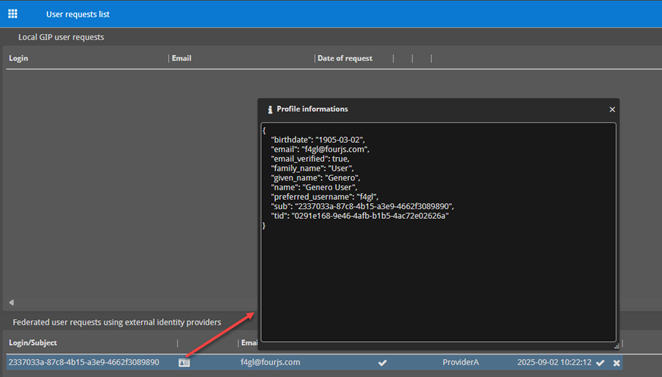
- The profile information dialog displays the raw JSON returned by the IdP.
- An email field marked with ✓ indicates the IdP has verified the address.
After validation, manage the user profile, permissions, and group membership as described in Manage users. For federated users, you may edit profile attributes and assign roles, but authentication is performed by the IdP.