Request account
Request a new user account via the Genero Identity Provider (GIP) sign-in page (Create Account flow), including SSO/external IdP handling and administrator review.
The first time you access an application protected by the GIP, request access via the Create Account feature; after your request is approved, sign in thereafter either with your registered IdP (SSO) or with your GIP local credentials.
-
The SSO delegate service redirects you to the GIP sign-in page.
The Create Account link appears beneath the IdP sign‑in button. If the create account feature is not visible, ensure your administrator has activated
oidc.account.create.allowin the GIP fglprofile.Figure: GIP sign-in screen with create account option for external IdP 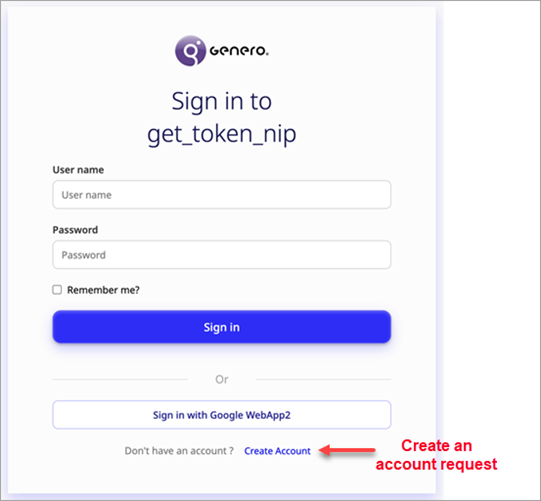
If successful, you will receive confirmation that your account request has been submitted. Further instructions may be sent to your email or displayed on the screen. The administrator will review your request in the Console App and validate or reject it, as described in Manage user account requests.
External IdP responses:
The GIP fetches the full JSON payload returned by the IdP's userinfo endpoint and stores it for administrator review. The IdP verifies your registered email (included in the userinfo response); this verified email is used by the GIP administrator to help confirm your request authenticity.
You cannot log in until your request is validated.