Quick Start: Generate and execute a test scenario
With this quick start, you will prepare your environment, compile a simple application, record a guilog, generate a test scenario from the guilog file, and execute the test scenario.
In working with this quick start, you will get an understanding of Genero Ghost client basics and you see how you can use it for testing scenarios using your Genero BDL applications. Two procedures are provided: running a test scenario that uses a direct connection to the Dynamic Virtual Machine (DVM), and running a test scenario that uses an application running on the Genero Application Server (GAS).
Run a test scenario using a direct connection
Steps
-
Record a GUI log.
-
Run the price application using one of the following sets of
commands.
- UNIX like OS:
cd ${GGCDIR}/src/quick-start export FGLIMAGEPATH=${GGCDIR}/src/quick-start/img:${FGLDIR}/lib/image2font.txt fglrun --start-guilog=price_sample.guilog price - Windows:
cd %GGCDIR%\src\quick-start
set FGLIMAGEPATH=%GGCDIR%\src\quick-start\img;%FGLDIR%\lib\image2font.txt
fglrun --start-guilog=price_sample.guilog price
The GDC opens the application in a system window.Figure: Price application run by GDC 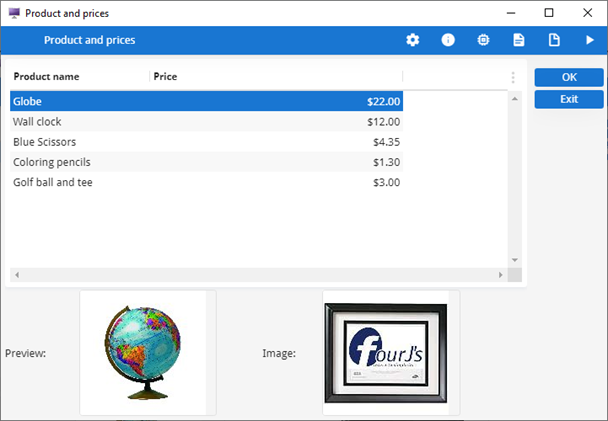
- UNIX like OS:
The DVM generates the price_sample.guilog file. -
Run the price application using one of the following sets of
commands.
-
Type the following command to run the test:
fglrun price_sample tcp --command-line "fglrun price"Where the path to the test application (price_sample) and the application being tested (price) is the current working directory.
The test runs, and the results display in the output.Figure: Output for the TCP test scenario (Windows) 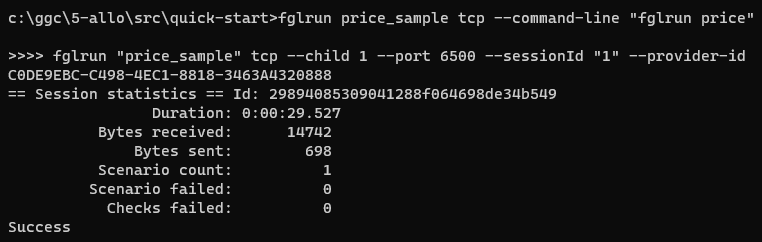
Note:The output is intended as a sample to show test session statistics, the format may change in future product releases.
Run the test scenario with the application running on the GAS
This procedure assumes you completed the previous quick start, Run a test scenario using a direct connection.
You should have a Genero Archive file, ggc-quick-start.gar, in your $GGCDIR/src/quick-start directory. If you do not find this file, return to that procedure and complete its steps.
This procedure uses the test scenario generated in the procedure Run a test scenario using a direct connection. If you do not have generated the price_sample test scenario, return to that procedure and complete its steps.
This procedure requires two command line windows.
Steps
-
Execute the compiled test scenario against the application running on the GAS.
fglrun price_sample.42m ua --url http://localhost:6394/ua/r/priceThe test runs, and the results display in the output.Figure: Output for the TCP test scenario 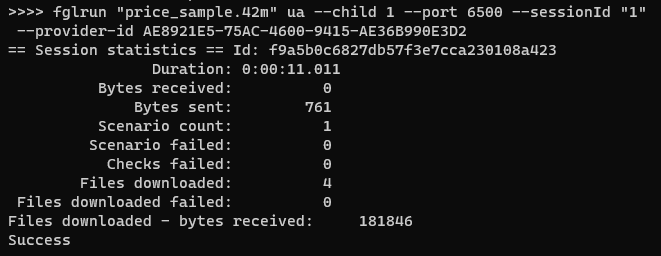
Note:The output is intended as a sample to show test session statistics, the format may change in future product releases.