Add a detail list to the form
Add a list to your form and create the master-detail relationship.
A Genero application can display a form that contains a master-detail relationship between two tables. The user can search for a row in the master table, and the corresponding rows in the detail table will also be displayed. The values in rows from both tables can be added, deleted, or modified.
The form must contain fields from both tables and the table relationships must be set.
-
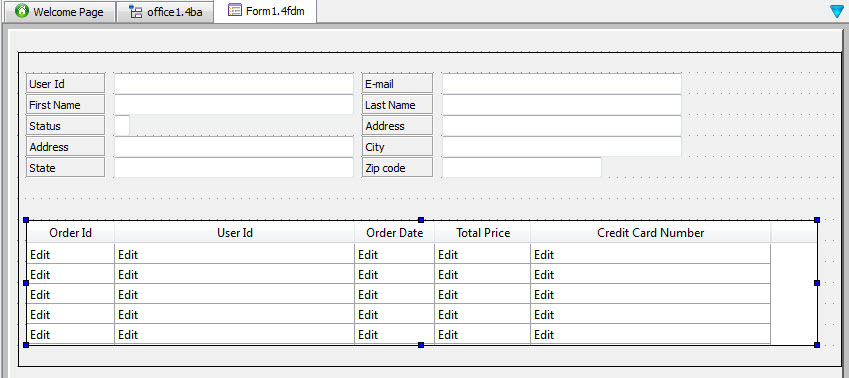
Draw the container within the enlarged grid, under the existing fields.
This form design now contains fields from the master table (account) and a detail table (orders).
Figure: Form tab
-
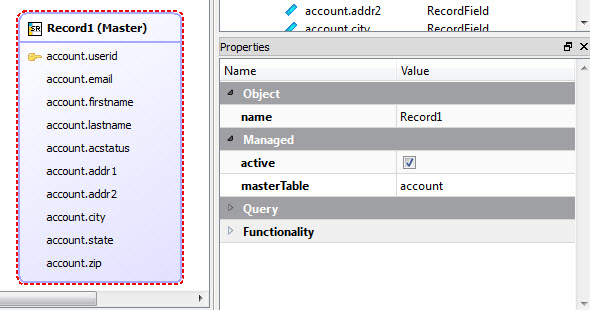
Select the Records tab. Select the master table record and make sure the
active property is checked. Select and identify a column as the unique key, if not already
identified.
Tip: The unique key is identified by the key icon.
Figure: Master table record
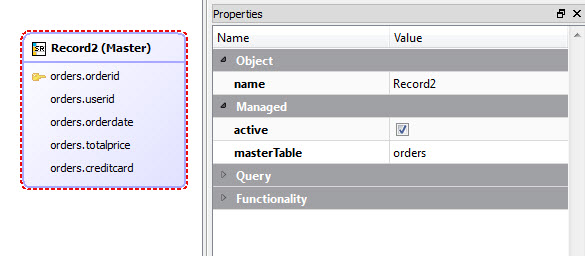
- Do the same for the detail table record.
Figure: Detail table record
-
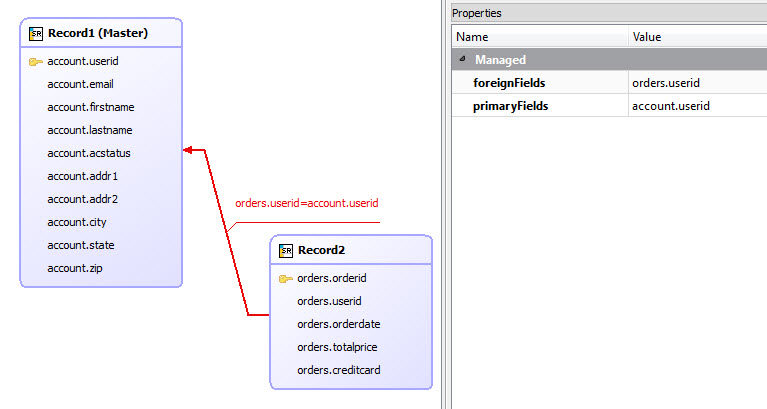
Set the relationship between the master and detail records. Right-click the foreign key field
in the detail table record (orders.userid, in our example), and select Add
Relation To. Drag the arrow to point to the primary key in the master table record
(account.userid).
Figure: Master-detail relationship
-
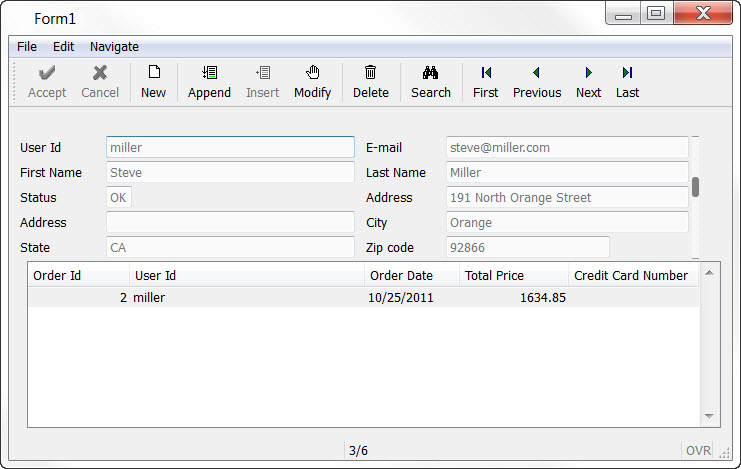
Build and execute the program.
Figure: The application executes