Record a scenario log
You can record your interactions with a Genero application into a log file, which can then be used to generate a test scenario.
While recording your interactions, you can take a snapshot of the current application state with the ALT+F12 keyboard shortcut. The snapshot is recorded in the log as a log event. A log file can contain multiple snapshots; you can capture as many snapshots as needed.
Record a guilog log using a direct connection
In this task the
--start-guilog option of the fglrun command is used to record a
log file. For more information on using this command, see the GUI front-end connection
chapter of the Genero Business Development Language User Guide.
-
Start the application using fglrun and the
--start-guilogoption.For example:D:\fjs\gst\fgl\demo\Widgets>fglrun --start-guilog=D:/tmp/log/edit.log EditIn this example:- The DVM is run with the
--start-guilogoption to record a log file. - The interaction is saved to a file named edit.log.
The GDC opens the application in a system window.Figure: Edit application 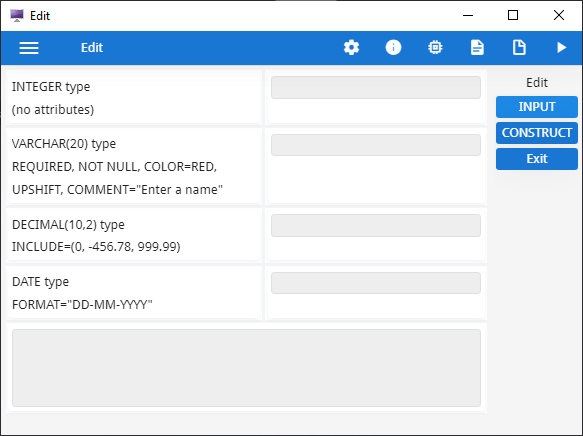
- The DVM is run with the
When you have completed recording the log, your next task is to generate test sets from the recorded log file. See Generate a scenario from a log file.
Record a scenario log via the GAS (DVM)
In this task you record a log from the
DVM end by adding the fglrun --start-guilog command in the DVM
element of the application configuration file. When the application is run, the specified guilog
file is
generated.
When you have completed recording the log, your next task is to generate test sets from the recorded log file. See Generate a scenario from a log file.
Record a GDC log
Before you begin:
To avoid errors in the log caused by the GDC recording actions from other applications, it is highly recommended you close all applications running in the GDC before starting the recording for your test application.
For more information on GDC logging, see the Using the logging system page in the Genero Desktop Client User Guide.
- Start recording.
- Launch the application you want to test.
- Close the application before you stop the recording.
-
Begin recording the GDC log file.
Figure: Recording a GDC log 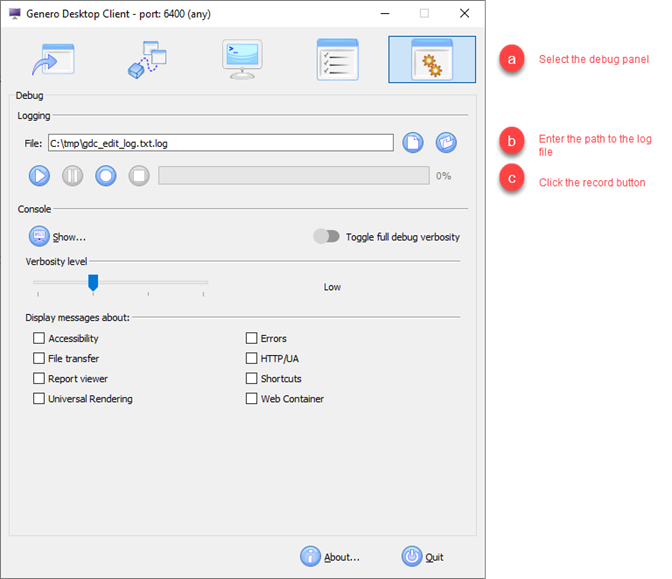
When you have completed recording the log, your next task is to generate test sets from the recorded log file. See Generate a scenario from a log file.
Record a GBC log
The GGC can generate test scenarios from logs recorded by the Genero Browser Client. GBC version 1.00.53 or greater is required. In this task you record a log from the GBC. For more information, see the Record a GBC log page of the GBC documentation provided as part of the GBC project package.
-
Run an application in your browser.
In this example, the "price" application is launched with the
recordGbcLog=1string to set recording log mode. It records the session's interaction between the front-end and the DVM:http://localhost:6394/ua/r/price?recordGbcLog=1Figure: GBC log recording 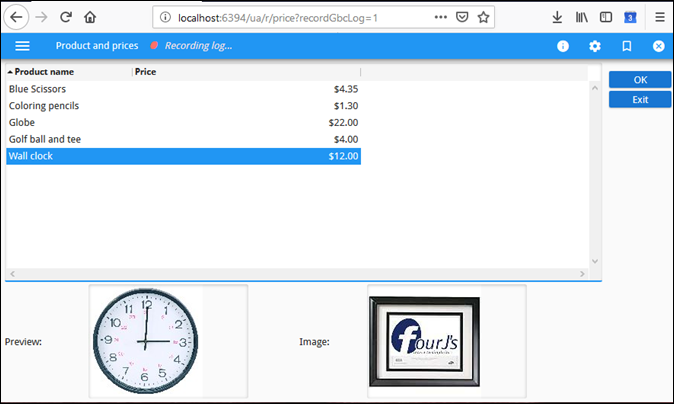
As you interact with the application, all this activity is recorded.Note:Notice the "Recording log ..." label in the application title bar.
When you have completed recording the log, your next task is to generate test sets from the recorded log file. See Generate a scenario from a log file.