Set up lists in table format
A table-formatted list ensures that the items are aligned with each other. It can be part of a report, or the entire report.
The table-formatted list uses a Mini
Page to contain the contents of the Table Row and (optionally) another Mini
Page to contain the Table Header. A Table Row has the Class property tagged as
grwTableRow or grwHeadlessTableRow, and a Table
Header has the Class property tagged as
grwTableHeader.
Examples can be seen in the Reports demo: FancyPivotOrderList.4rp and FancyPivotOrderListSorted.4rp.
You can set up your own table-formatted list; however, it is easier to create a table-formated list by doing one of the following:
- Select .
- Create a new report using one of the List templates; see Create a report from an existing template.
Example
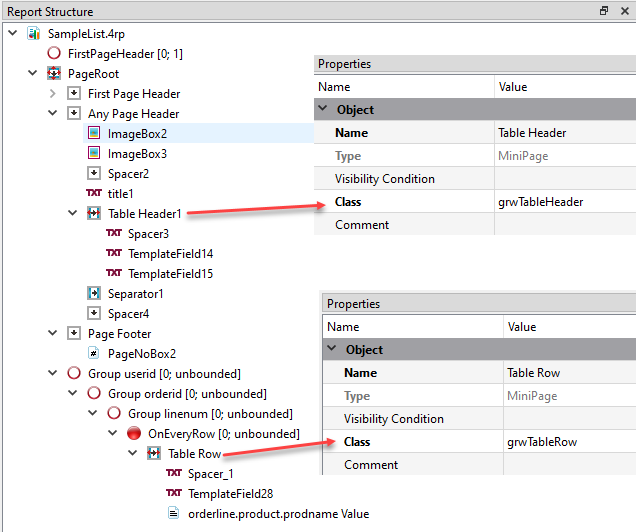
Figure 1 shows a report that was created using the Simple List (PULSE) template. It includes two Stripes: Table Header1 with Class set to grwTableHeader and Table Row with Class set to grwTableRow.
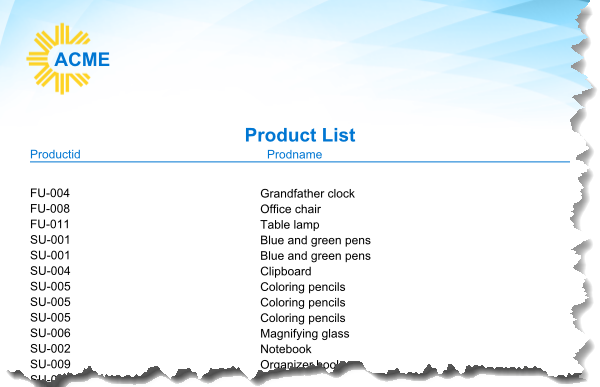
The items in the report display in a table-formatted list, as in Figure 2.