Explore forms
Follow these steps to explore the visual tools for user interface development.
-
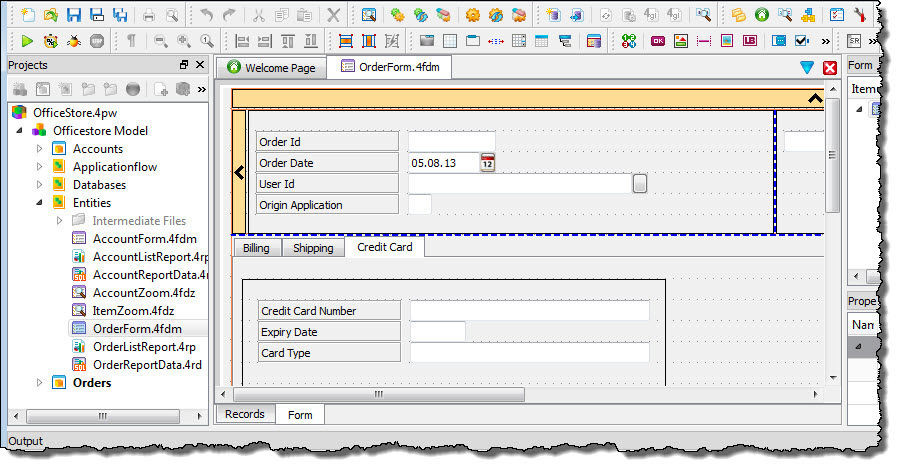
Expand the Entities node and double-click on the
OrderForm.4fdm file.
The OrderForm.4fdm file is a form and opens in the Form Designer.
Figure: The OrderForm.4fdm file
-
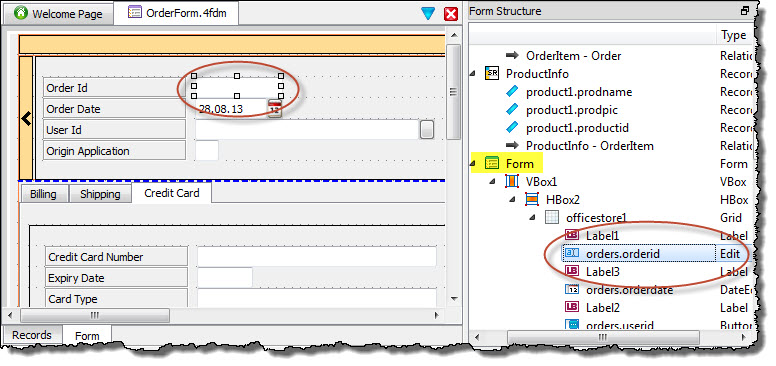
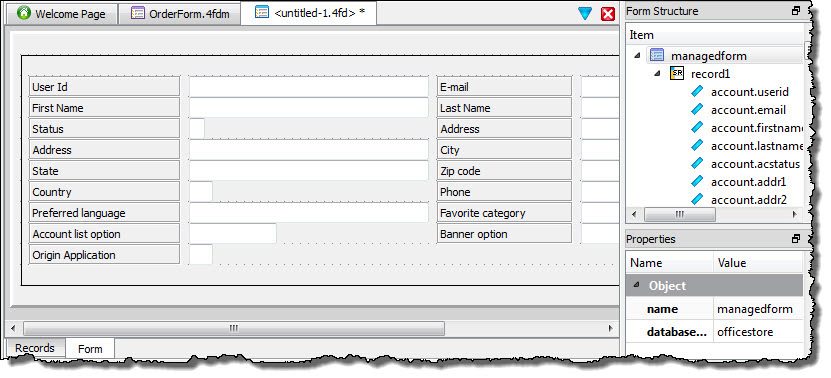
Scroll down in the Form Structure view to the Form section and select a form item.
The item is also selected in the form design.
Figure: Selecting a form item in the Form Structure view
-
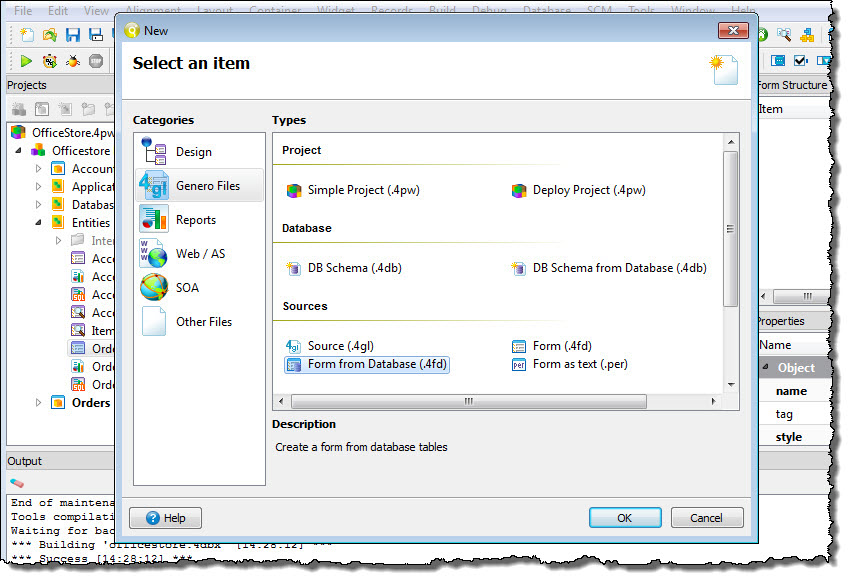
Use the Form from Database wizard to create a new form:
-
Select .
Figure: Creating a new form
-
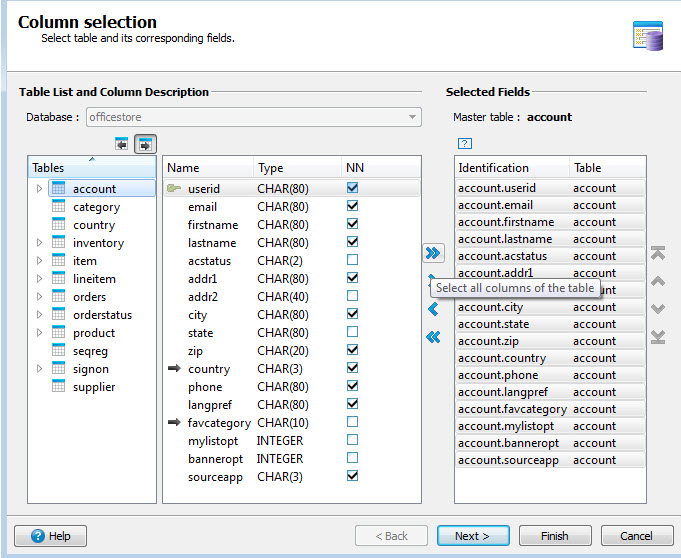
Select the officestore database and the account
table (use the double arrow to select all columns in the account table for the form).
Figure: Selecting database and columns for a new form
-
Select Finish.
The form is now ready to use or modify in Form Designer. Additional table columns, container, and widgets can be added.
Figure: Form created from the Form from Database wizard
-
Select .
-
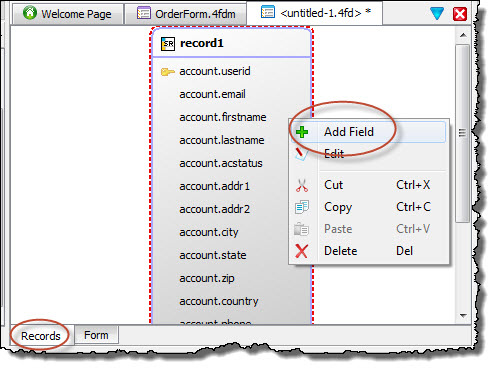
Right-click on the record and select Add Field.
A field is added to the record with default values.
Figure: Adding a new field to a form record
-
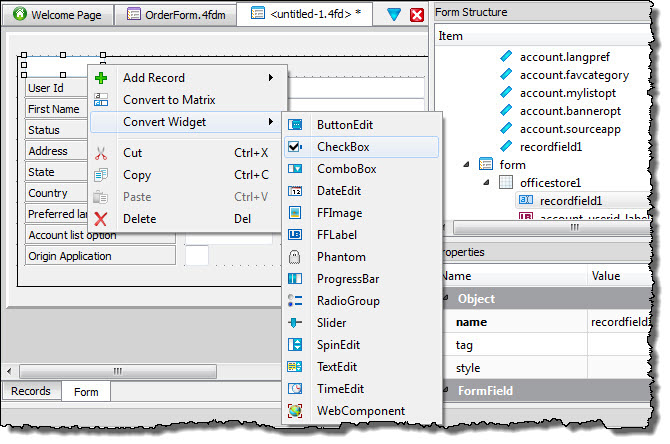
Right-click on the new field and select to change the field to a form field label.
Figure: The Convert Widget menu
-
In the properties for the new field, change its color value from Black to Blue.
The color changes on the form design.
Figure: The color property
