Follow these steps to run a demo in the Genero Desktop Client (GDC) and
HTML5.
-
Expand the OfficeStore project and find the
Orders program node. It is in bold because it is the default program in this
project. Right-click on the Orders node and select
Execute.
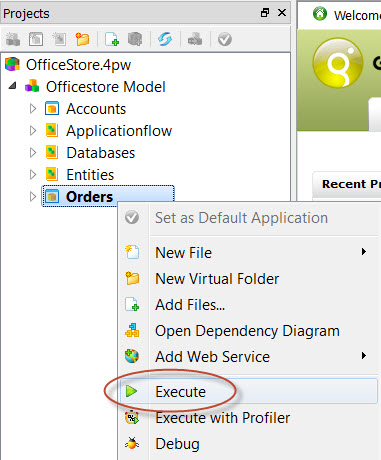
Figure 1. Executing a program
-
Navigate the Orders program. In these steps, browse records, add a new
item to an order and modify the shipping address.
-
Use the Next and Previous options in the toolbar
to browse the records.
-
Right-click on the toolbar and deselect Enable Text to see the toolbar
with out the associated text.
-
Add a new item to the order. Select an item in the item list and select
Append. In the Number field enter
100
-
Tab to the Item Id field and press the magnifying glass
icon to bring up a list of options. Press the Product Name column
header to sort the rows by product name. Find the product name Basketball and
double-click to add this item to the order.
-
Tab to the Quantity field and enter 5.
-
Click on a different item in the list and you are prompted to save your changes. Select
Yes.
Your item has been added to the order.
-
Select the Order Date field and use the calendar to select a new order
date.
-
Select the Shipping tab. In the Address field
enter 4, Rue Beethoven.
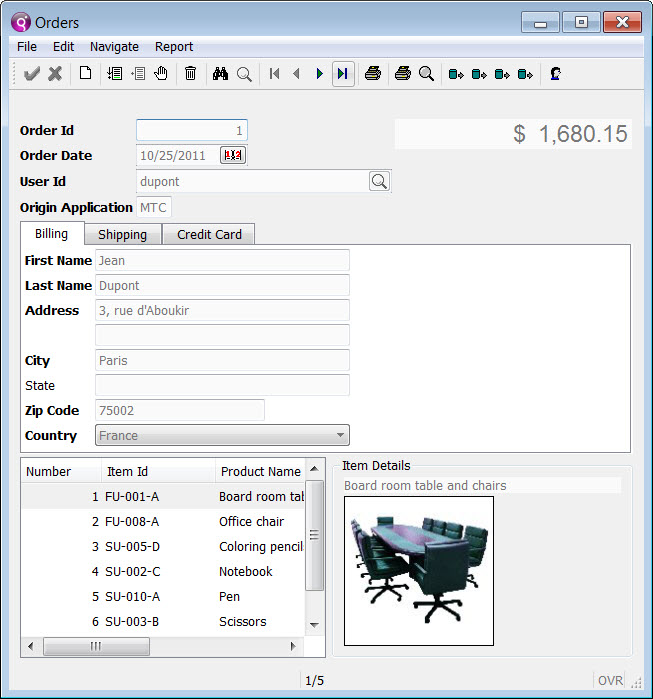
Figure 2. Program running in GDC
-
Select to exit the Orders program.
Run the same Orders program in HTML5.
-
In the lower right corner, change the display configuration to
HTML5.
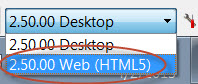
Figure 3. Change display to HTML5
-
Right-click on the Orders node and select
Execute.
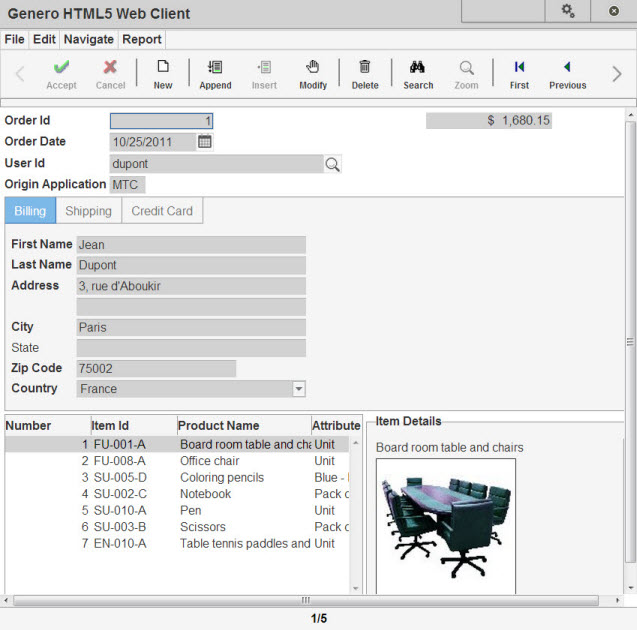
Figure 4. An application running in a browser with the default configuration for HTML5 Web
Client
-
Navigate the Orders program in the HTML5 Web Client.
-
Select to exit the Orders program.