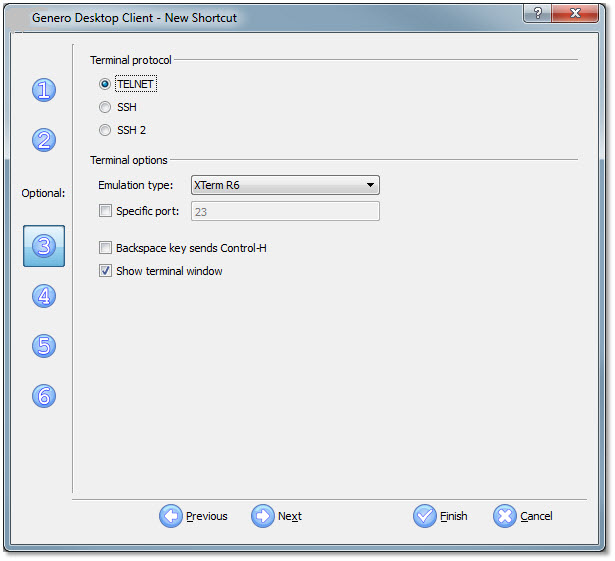
Setup telnet
This topic describes the steps to configure GDC connections using telnet.
Telnet doesn't offer port forwarding, so the setup is a bit simpler. But it also doesn't give the flexibility needed when going through firewalls, and offers no encryption or privacy like ssh.
You simply need to pass the required arguments via the command line, and the login script sets the environment and launches the application.
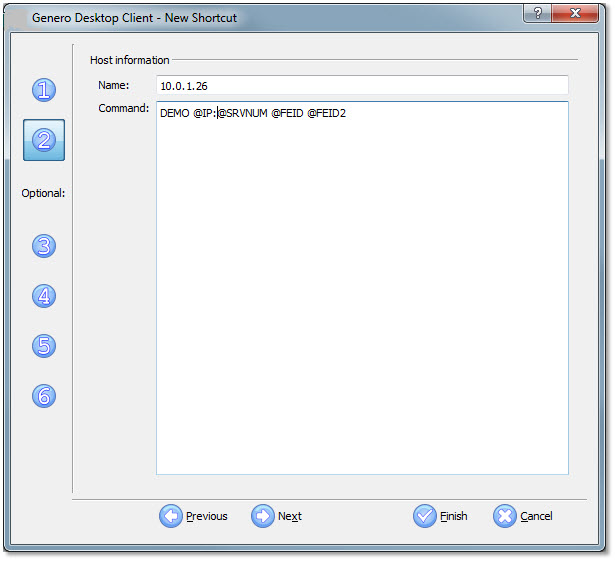
With ssh and tunneling, the IP address is not needed because the tunnel is listening on the same server that will run the application. But with Telnet, we must pass the client machine's IP and port using @IP and @SRVNUM. The security values are passed as well, so the environment is complete. For the Genero Desktop Client to make use of the security values, you must start it with the option "-A 3" on the command line of the Genero Desktop Client. Put your application name in place of DEMO, and make an entry in the login script accordingly.