IIS: Configure for HTTP/2
Configure ISAPI to use HTTP/2 protocol.
The HTTP/2 protocol has enhancements that improve the speed in which pages load in web browsers. The HTTP/2 protocol is available over unencrypted (http://) and encrypted (https://) channels, but most major browsers only support use of HTTP/2 over HTTPS. Therefore, you need to ensure HTTPS is enabled on your server.
Ensure your IIS is IIS 10 or greater.
Follow this procedure to enable HTTPS on Windows® 10 by adding an SSL certificate for your IIS web site. By default HTTP/2 is then
enabled.
Note:
This example uses a self-signed certificate. This is for demonstrative purposes only. A self-signed certificate is not recommended for protecting your production sites.
-
After installing IIS, launch
the Internet Services Manager and create a self-signed certificate by selecting the Server
Certificates option under the server's Features view. Double click
the Server Certificates option to open the feature.
Figure: Internet Information Services (IIS) server certificate feature 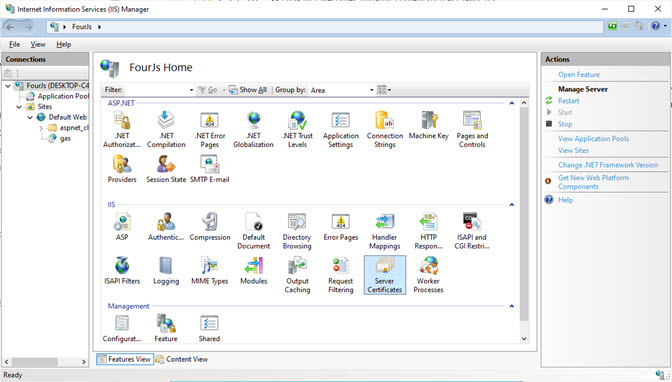
-
Click Create Self-Signed Certificate .... In the Create
Self-Signed Certificate dialog that opens, enter a name for the certificate.
Figure: Internet Information Services (IIS) create self -signed certificate feature 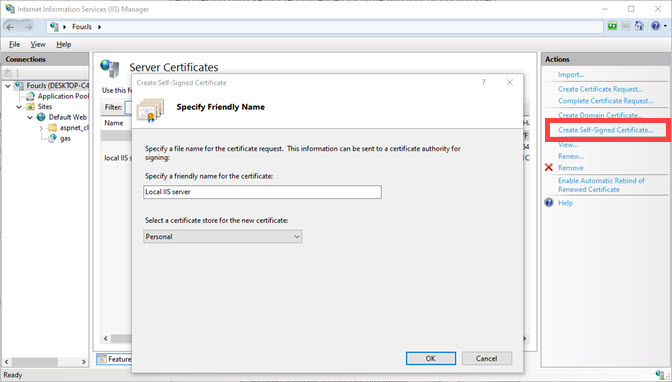
The certificate is created and appears in the list of Server Certificates in the Features view. -
Go to your Default Web Site to create a new Transport Layer Security (TLS) binding with the
self-signed certificate which you just created.
Figure: Internet Information Services (IIS) create bindings for the default website 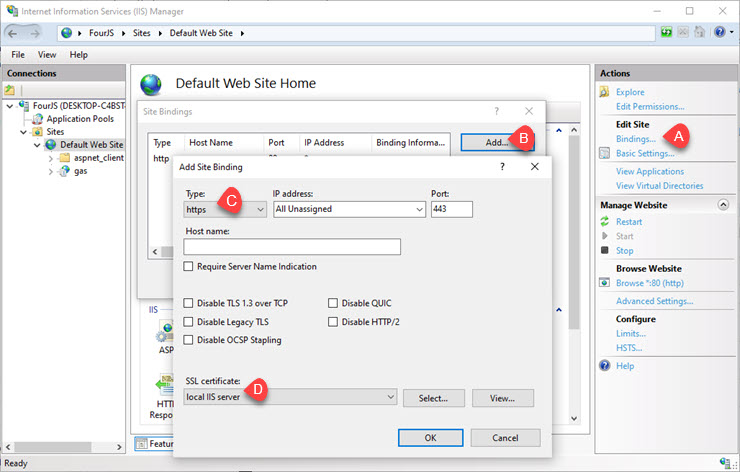
-
Select your self-signed certificate from SSL certificate list.
Click OK to save your changes and close the dialog.The Site Bindings dialog now shows your new configuration for HTTPS.
Figure: Internet Information Services (IIS) site bindings 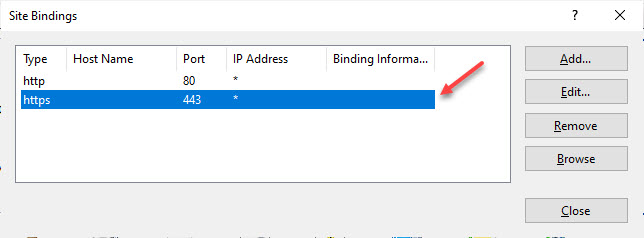
-
Select your self-signed certificate from SSL certificate list.
-
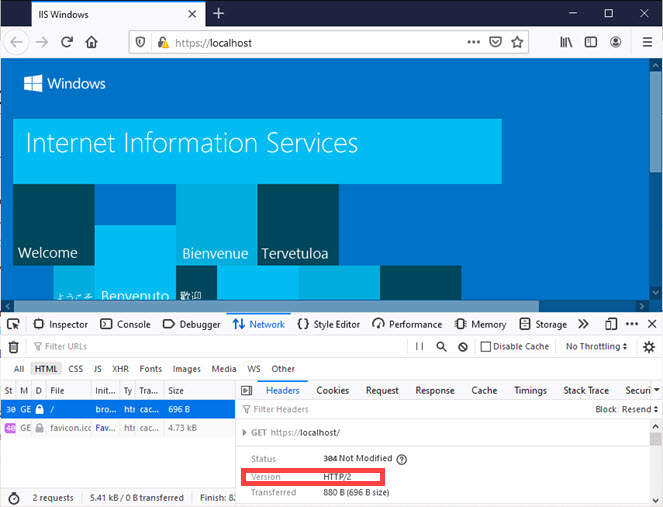
Verify the HTTP version is HTTP/2. Open a browser from your machine and enter the URL:
https://localhost.
The IIS welcome screen displays. Press the F12 key, (or go to Settings and enable Developer Tools), and then switch to the Network tab.Note:
Some browsers may not yet support use of HTTP/2. This screenshot is from Mozilla Firefox, showing HTTP version information in the Headers tab.
Figure: Verifying HTTP/2 on browser