Manual configuration for IIS 8.x and IIS 10.x
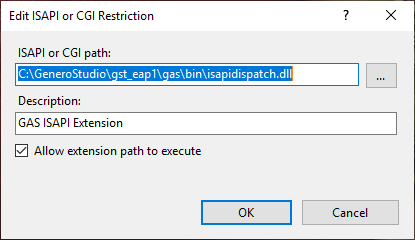
These are the instructions for the manual configuration of the ISAPI dispatcher for IIS 8.0 and IIS 10.0.
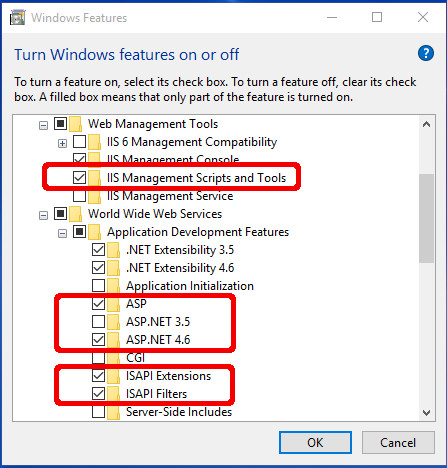
The installer needs some Internet Information Services (IIS) features to be activated:
- IIS Management Scripts and Tools
- ASP.NET
- .NET Extensibility
- ISAPI Extensions
- ISAPI Filters
To activate IIS on a Windows Server 2012:
- Open Server Manager
- Under the Manage menu, select Add Roles and Features to launch the Add Roles and Features Wizard
- For Installation type, check the option Role-based or Feature-based Installation and click Next
- For Server Selection, select the appropriate server, (the local server is selected by default) and click Next
- For Server Roles, check Web Server (IIS) and click Next
- For Features, accept the default settings and click Next
- For Web Server Role (IIS), accept defaults and click Next
- For Role Services, accept the default settings that have already been selected for you, and verify that the IIS Management Scripts and Tools, IIS Management Console, ASP.NET, .NET Extensibility, ISAPI Extensions, and ISAPI Filters options are selected, and then click Next
- For Confirmation, click the Install button. (When the IIS installation completes, the wizard shows the installation status in the Results screen)
- Click Close to exit the wizard
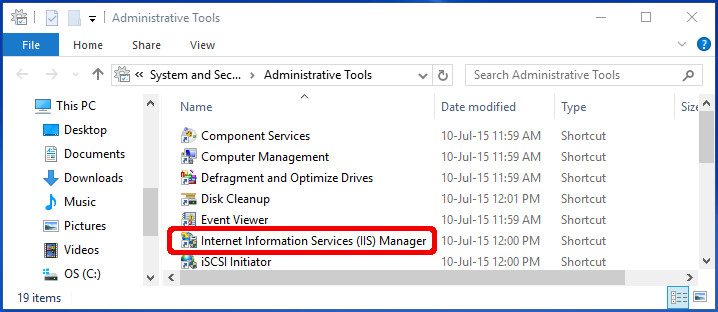
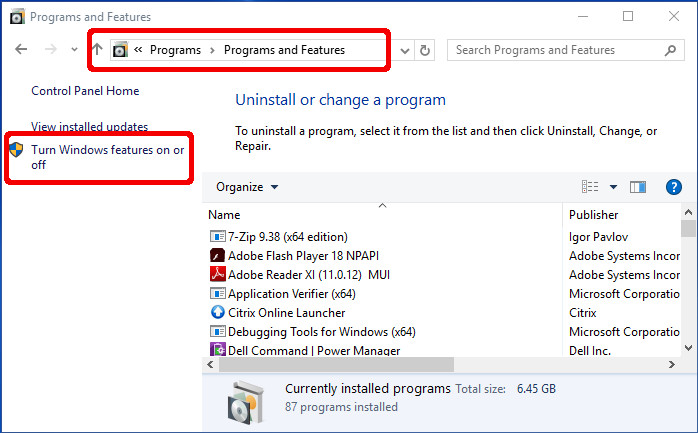
Activate IIS on Windows 8 and 10
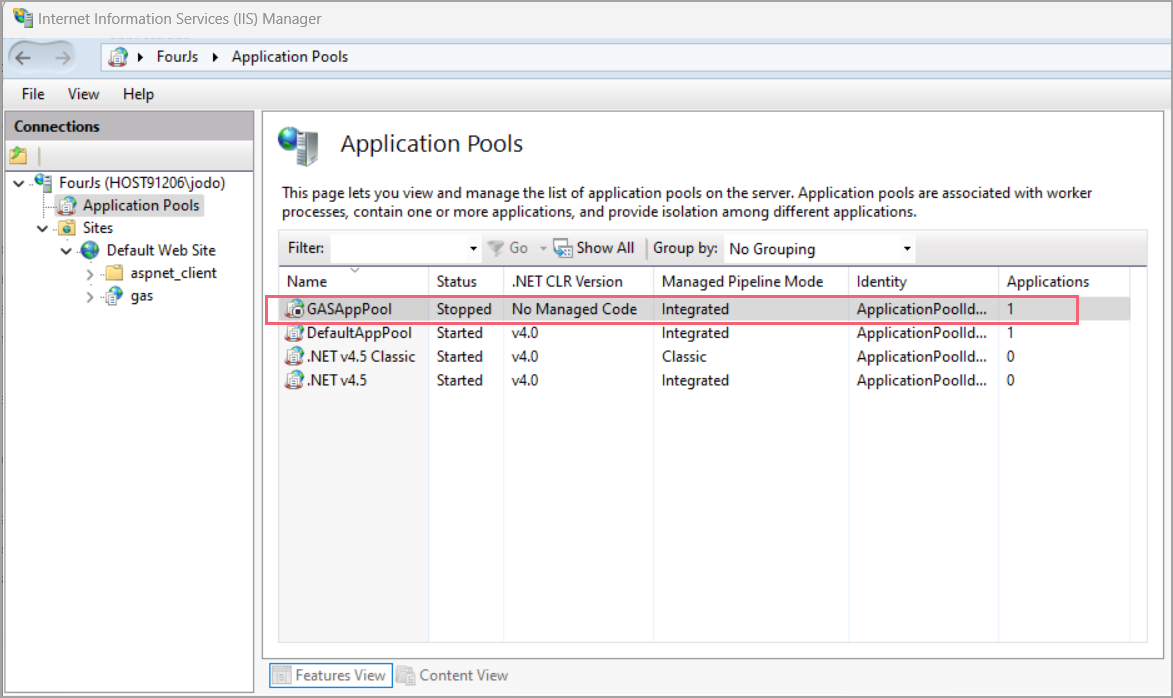
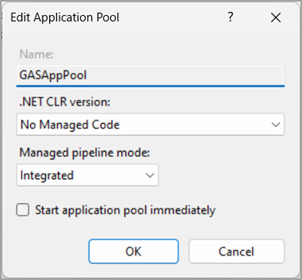
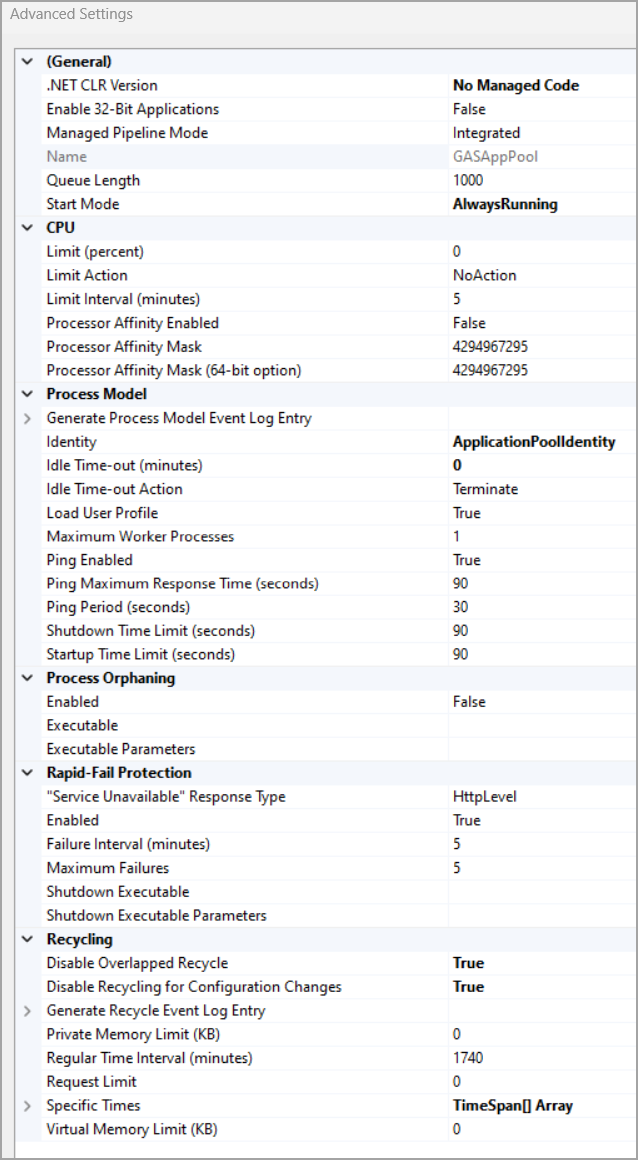
Create application pool
You need to create an application pool that will allow you run web and desktop applications. The GAS ISAPI Extension will be executed on behalf of the user that is registered in the pool's properties.
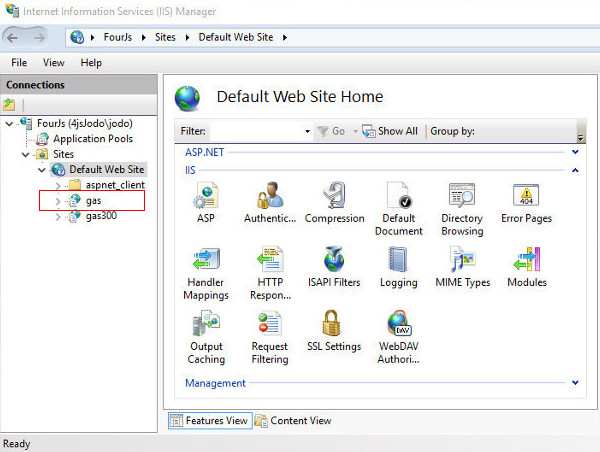
Create an application
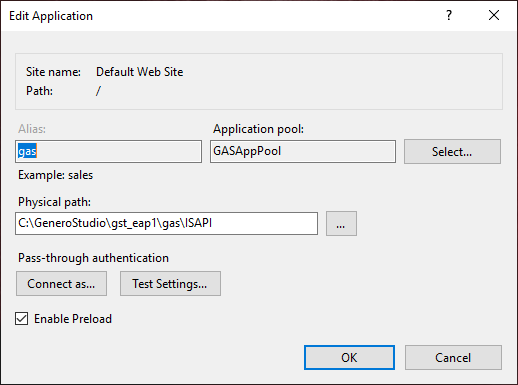
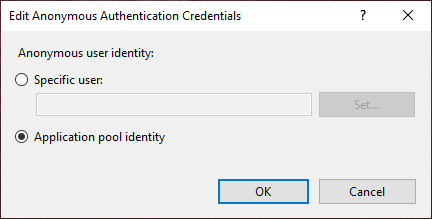
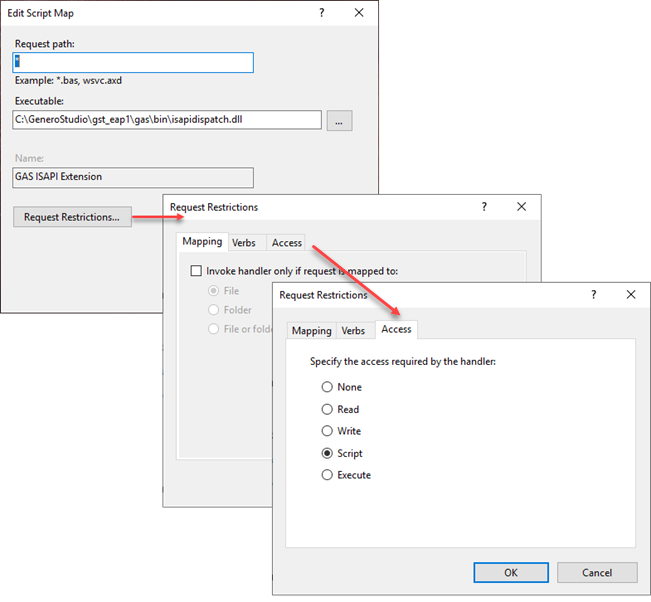
You need to create an application that is bound to the GAS ISAPI extension dispatcher. You need to configure authentication for the anonymous user, or a user based on your security policy.
After you have finished the installation, you now need to configure the GAS ISAPI Extension configuration file, see Finishing the installation .
