Understanding tree-views
This is an introduction to treeview programming.
Tree-views can be implemented with a DISPLAY ARRAY instruction using a form
screen-array bound to a TREE container with tree-view specific attributes.
TREE containers are very similar to TABLE containers, except that
the first columns are used to display a tree of nodes on the right of the widget.
This feature is not supported on mobile platforms (in native rendering mode).
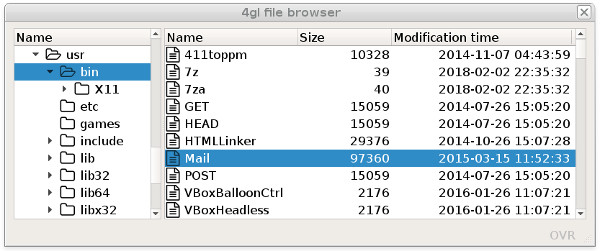
The screenshot shows a typical file browser using a tree-view. This example implements a
DIALOG instruction with two DISPLAY ARRAY sub-dialogs. The first
DISPLAY ARRAY sub-dialog controls the tree-view while the second one controls the
file list on the right side.

The data used to display tree-view nodes must be provided in a program array and controlled by a
DISPLAY ARRAY. It is possible to control a tree view table with a singular
DISPLAY ARRAY or with a DISPLAY ARRAY sub-dialog within a
DIALOG instruction.
A tree view model is implemented with a flat program array (a list of rows), where each row defines parent/child node identifiers to describe the structure of the tree; so, the order of the rows matters:
Tree structure         parent-id        child-id
Node 1                 NULL              1
     Node 1.1           1                1.1
     Node 1.2           1                1.2
         Node 1.2.1     1.2              1.2.1
         Node 1.2.2     1.2              1.2.2
         Node 1.2.3     1.2              1.2.3
     Node 1.3           1                1.3
         Node 1.3.1     1.3              1.3.1
  ...                   ...              ....
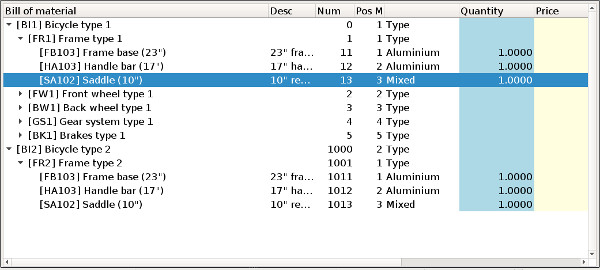
Depending on your need, you can fill the program array with all rows of the tree before dialog execution, or you can fill or reduce the list of nodes dynamically upon expand / collapse action events. In the second case, you must provide additional information for each row of the program array, to indicate whether the node has children. A dynamic build of the tree view allows you to implement programs displaying very large trees, for example in a bill of materials application, where thousands of elements can be assembled together.
Tree-views can display additional columns for each node, to show specific row data as in a regular table.
